Manual Dermabrasion
Manual Dermabrasion
Manual dermabrasion employs the same principles of traditional dermabrasion without the need for a hand engine or skin refrigerants. Several options are available and acceptable as abrasive surfaces. Different grits of sandpaper may be used to achieve slight variations in depth. Drywall/plaster sanding screening5 and electrocautery scratch pads6 may also be used (Fig. 56-9). The abrasive material should be packaged as sterile or autoclaved prior to use.
The sandpaper is wrapped around the barrel of a syringe, around a sterile marking pen, or folded in three around the surgeon’s index finger (Fig. 56-10).36 A gentle backand-forth or circular motion should be used to dermabrade the skin.5 Continue until punctate bleeding is visualized, as with traditional dermabrasion. Feathering is performed at the periphery to create a blend with surrounding skin.
As with mechanical dermabrasion, moving from inferior to superior will keep the untreated site free of blood and make the procedure easier to complete. Lidocaine with epinephrine-soaked gauze should be employed for hemostasis, and dressings should be applied as with traditional dermabrasion. Representative cases are shown in Figures 56-11 to 56-15.

Figure 56-9. From left to right: Sandpaper in order of increasing coarseness: 400, 320, 240, 180, 150, and 120 grit. Drywall sanding screen is pictured on the right.
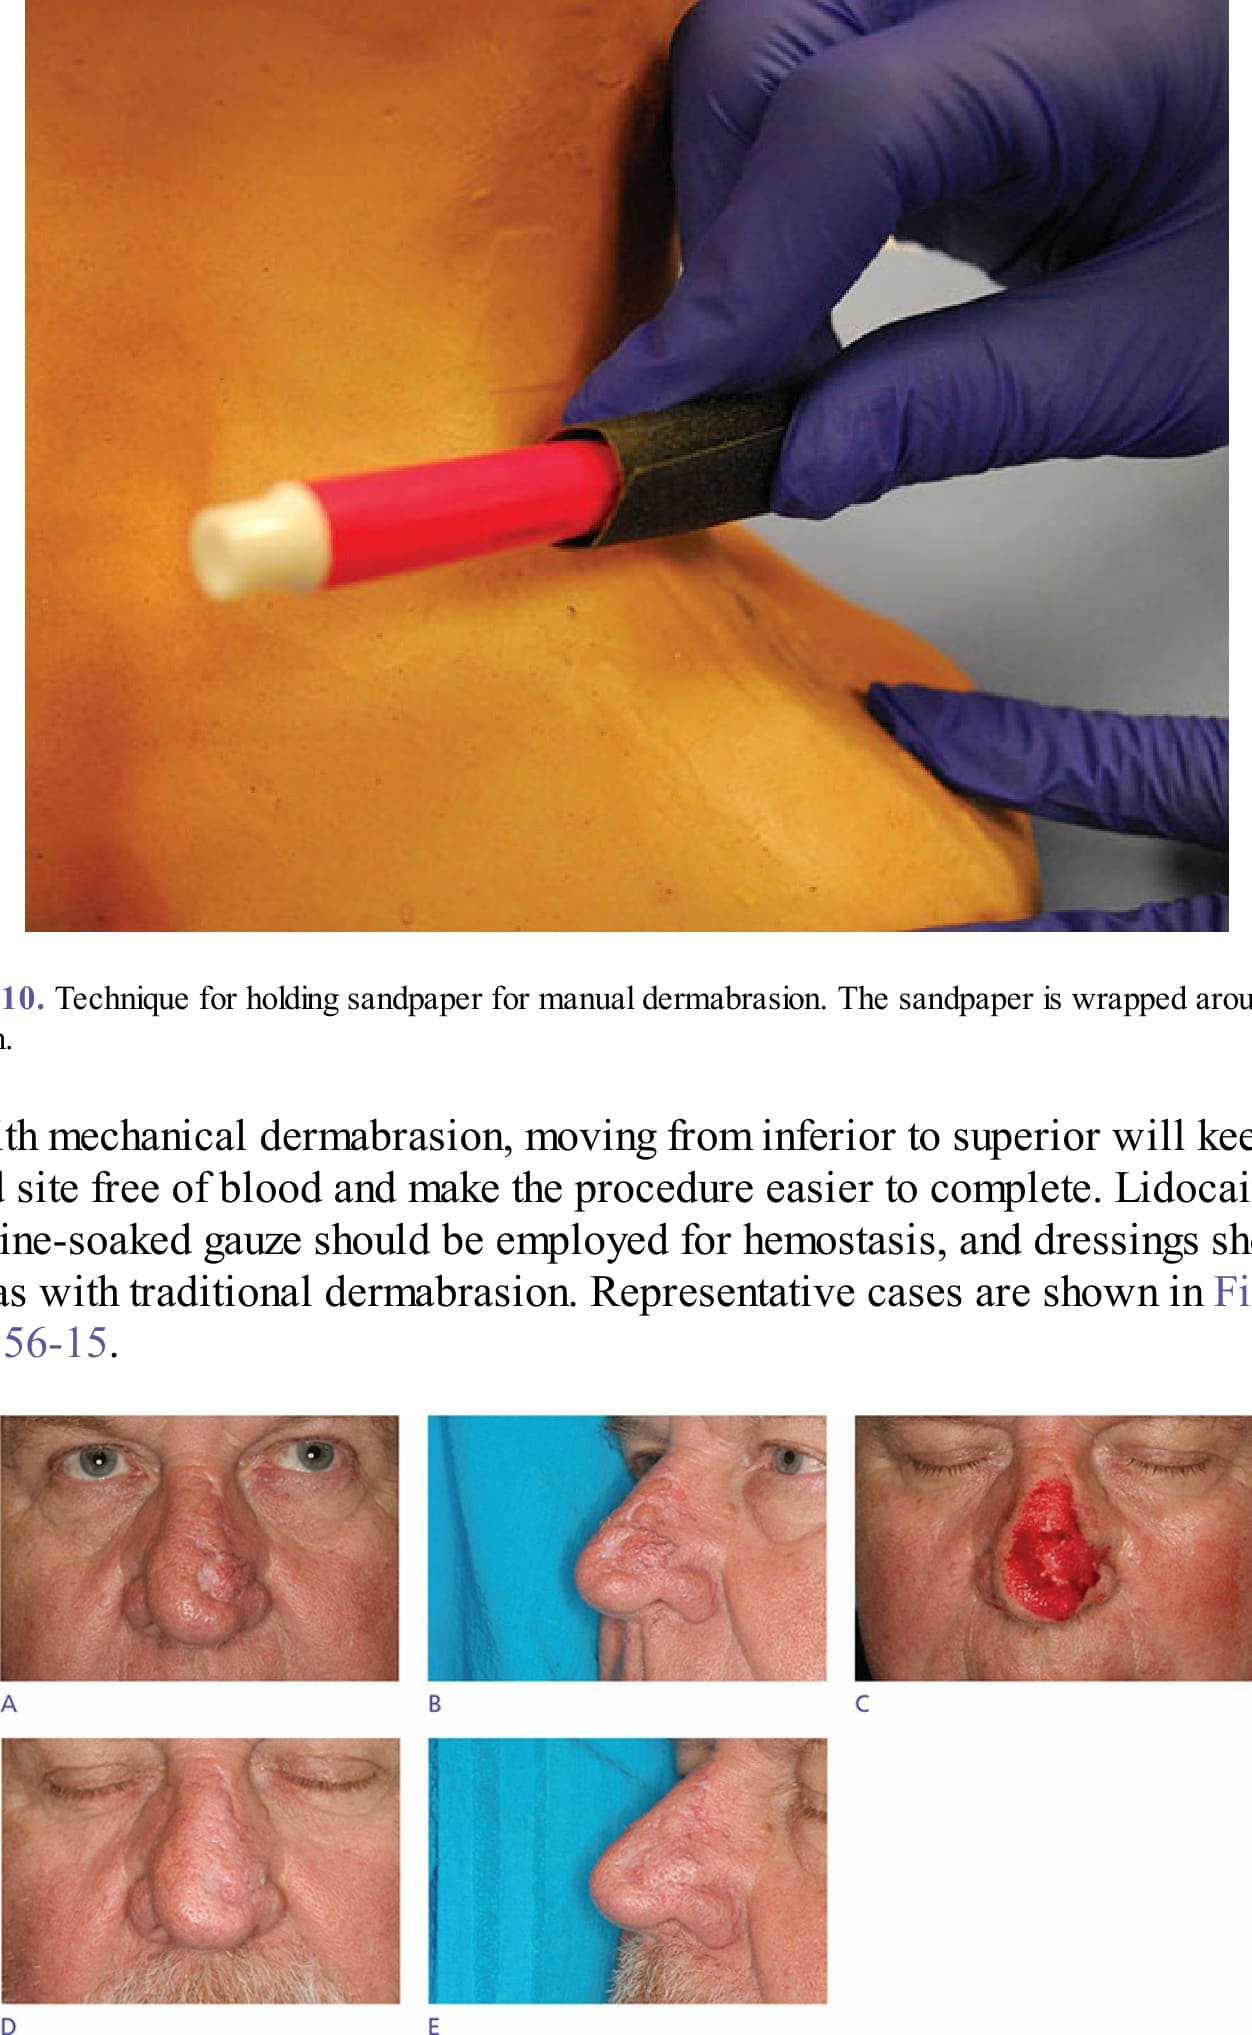
Figure 56-10. Technique for holding sandpaper for manual dermabrasion. The sandpaper is wrapped around a sterile marking pen.
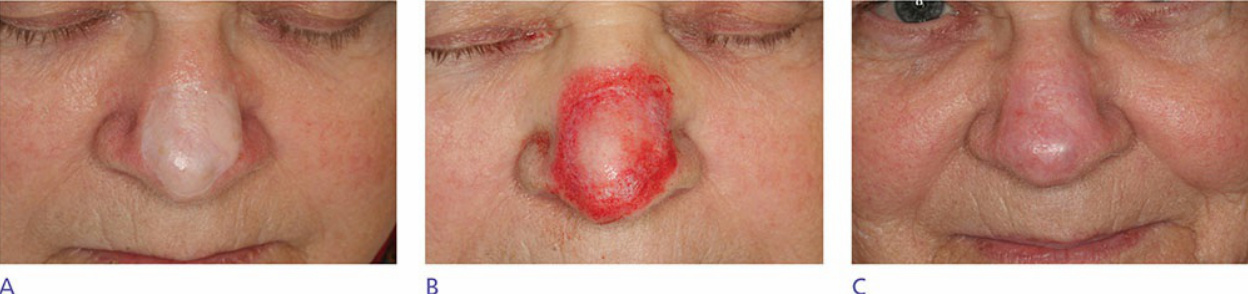
Figure 56-11. (A, B) Pretreatment scar resulting from bilobed flap following Mohs surgery. (C) Immediate posttreatment photo following dermabrasion. (D, E) Follow-up at 8.5 months following dermabrasion. (Used with permission from David Zloty, MD).
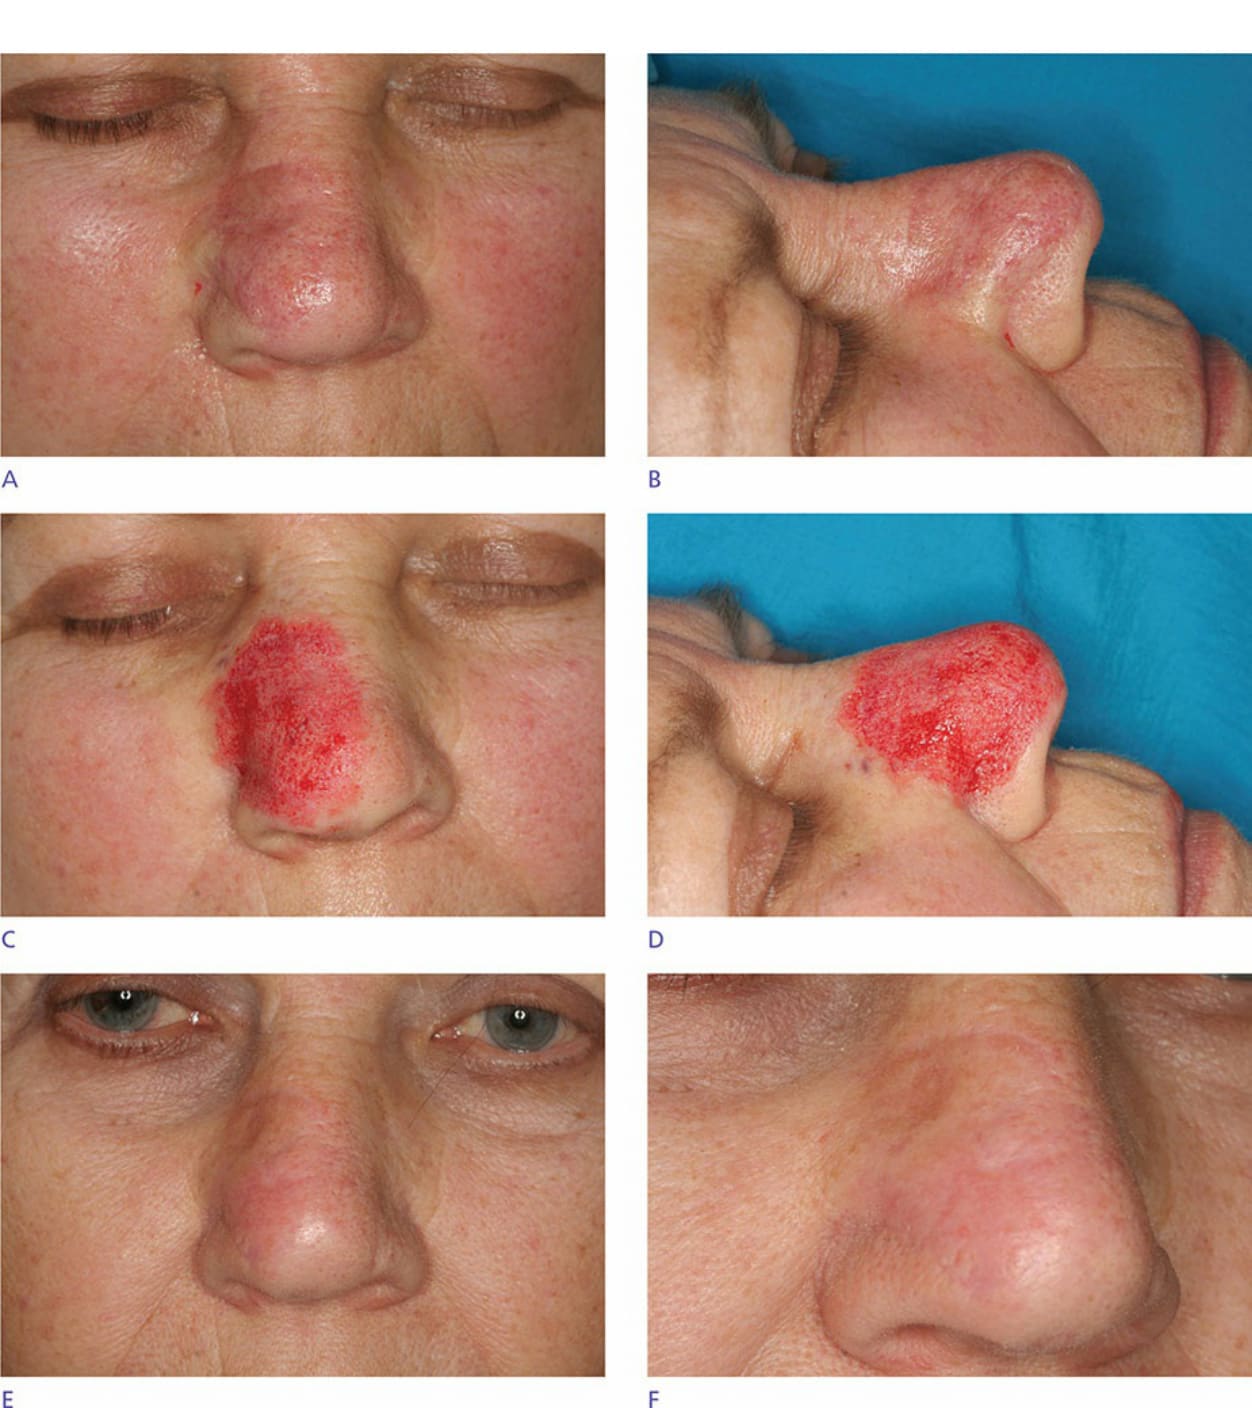
Figure 56-12. (A) Pretreatment scar resulting from full-thickness skin graft following Mohs surgery. (B) Immediate posttreatment photo following dermabrasion. (C) Follow-up at 3 months following dermabrasion. (Used with permission from David Zloty, MD).
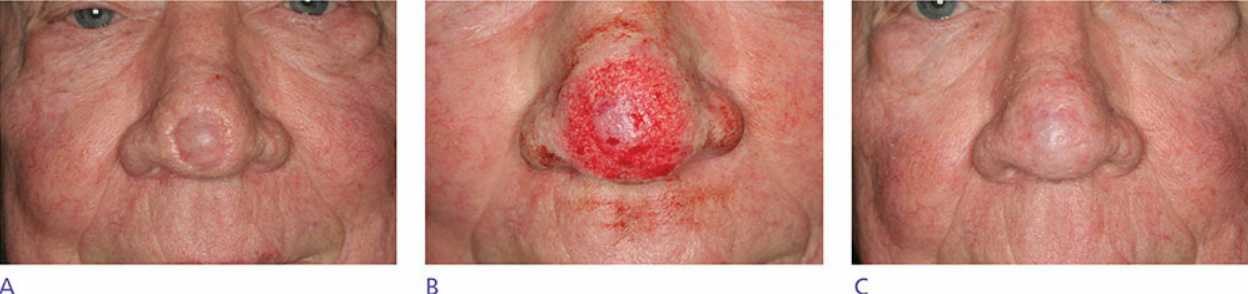
Figure 56-13. (A, B) Pretreatment scar resulting from full-thickness skin graft following Mohs surgery. (C, D) Immediate posttreatment photo following dermabrasion. (E, F) Follow-up at 5 months following dermabrasion. (Used with permission from David Zloty, MD).
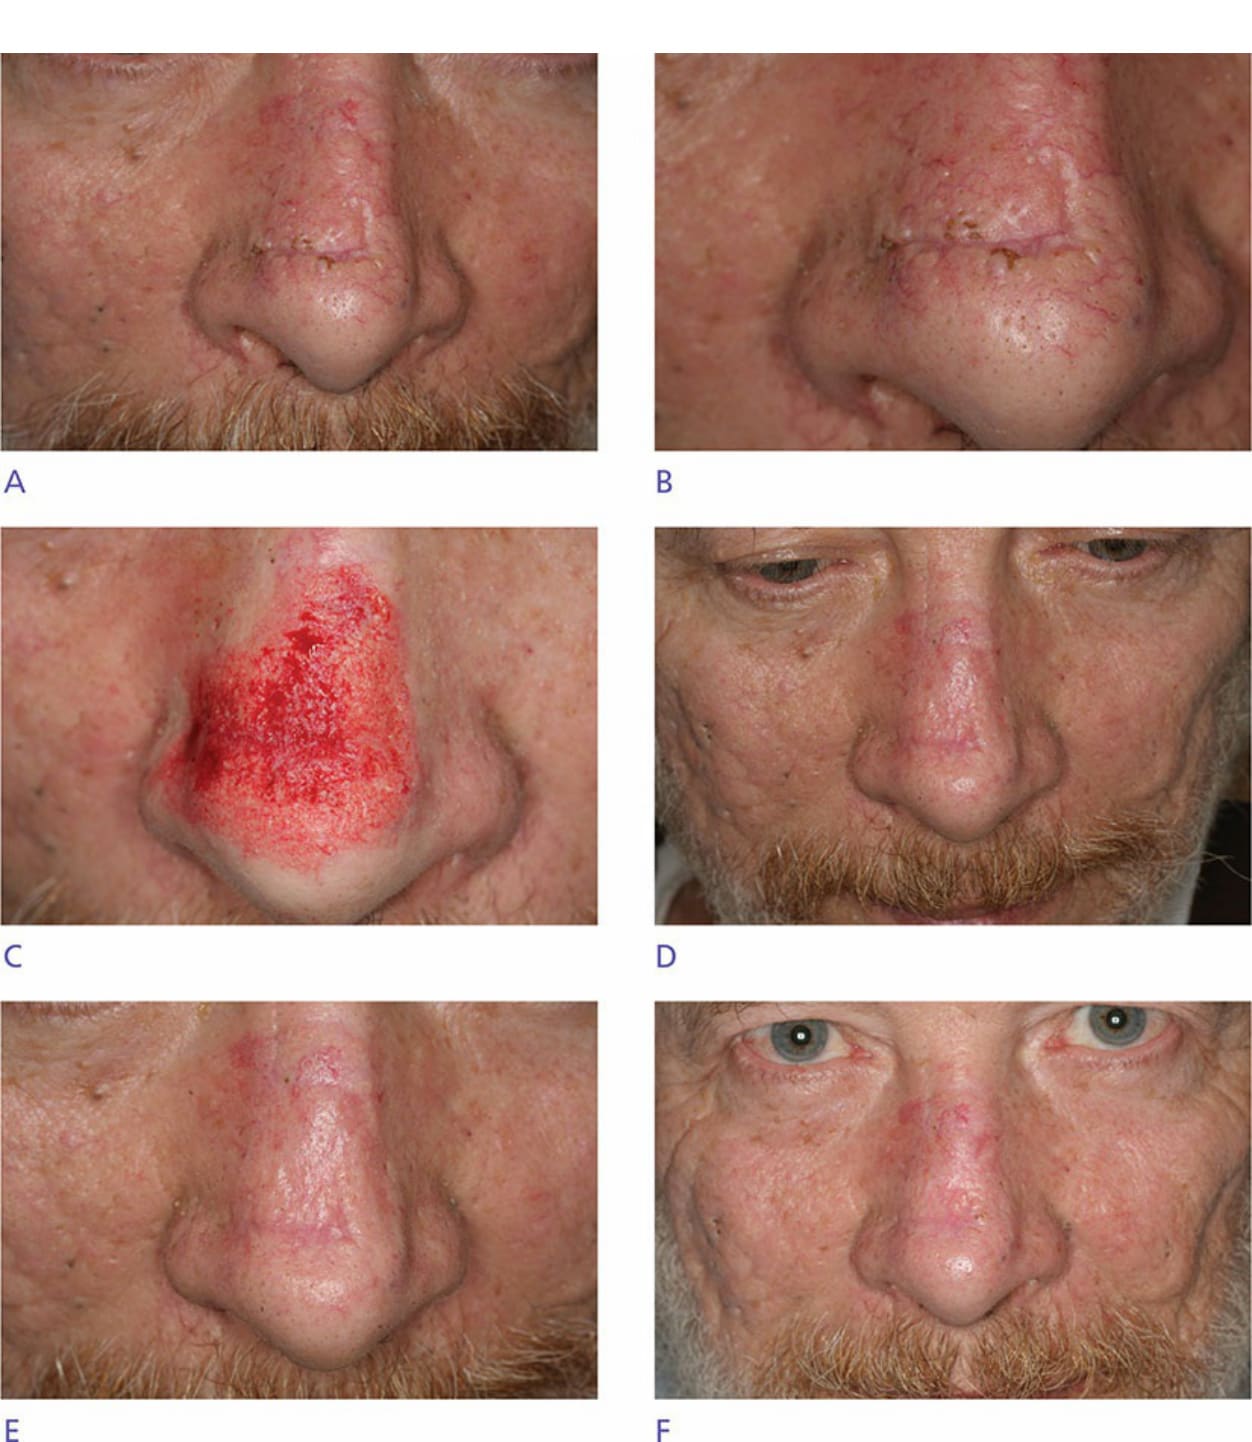
Figure 56-14. (A) Pretreatment scar resulting from full-thickness skin graft following Mohs surgery. (B) Immediate posttreatment photo following dermabrasion. (C) Follow-up at 3 months following dermabrasion. (Used with permission from David Zloty, MD).

Figure 56-15. (A, B) Pretreatment scar resulting from advancement flap following Mohs surgery. Note multiple open comedones. (C) Immediate posttreatment photo following dermabrasion. (D, E) Follow-up at 3 months following dermabrasion. Note significant improvement of comedones following treatment. (F) Follow-up at 8 months following dermabrasion. Note interval milia formation over dermabraded area. (Used with permission from David Zloty, MD).
⚠️ 此圖在原始 PDF 中缺漏(caption 為孤兒、該頁無對應影像),上方為佔位圖。/ This figure’s image is absent in the source PDF (orphaned caption); placeholder shown.