Incision
Incision
After sterile skin preparation and draping, the lesion is excised. The ideal scalpel entry angle for a fusiform excision has been classically described as 90 degrees to the skin;41 others have suggested a 10-degree outward (reverse) bevel, while more recently, it was suggested that a more dramatic reverse bevel may be desirable.52,53 In practice, when working on facial skin or on the forearms, true perpendicular incision angles work well; on the back, particularly in younger patients with a robust dermis, a reverse bevel may be advantageous and minimize the need for removal of any residual overhanging dermis (Figs. 18-12 through 18-20). This is particularly an issue as after the initial release of epidermis and superficial dermis there is a tendency for the outside (nonincised) edges of the excision to spring laterally (Fig. 18-21).41 Stabilizing the surrounding skin during scalpel entry and during incision creation may help maintain a consistent angle.
Most standard descriptions call for the tip of the scalpel to be used initially, followed by the belly of the blade which is ostensibly sharper than the tip. While common surgical folklore, this is more critical when using the larger #10 blade than when using the #15 blade that is typically used in dermatologic surgery. Similarly, references to holding the surgical blade like a violin bow are largely a result of translating general surgery techniques to dermatologic surgery. The violin bow technique is classically described when using a #10 blade, which is significantly larger than the #15 blade. Similarly, some textbooks historically advocated that a single pass of the scalpel should incise through epidermis, dermis, and through to the subcutaneous
fat; in practice, this is both unnecessary and difficult to achieve unless excessive force is used. Therefore, the surgical blade may be held like a pencil and careful and consistent traction may be used to permit a smooth incision through the dermis, though multiple passes, particularly when working on the back, are perfectly acceptable.
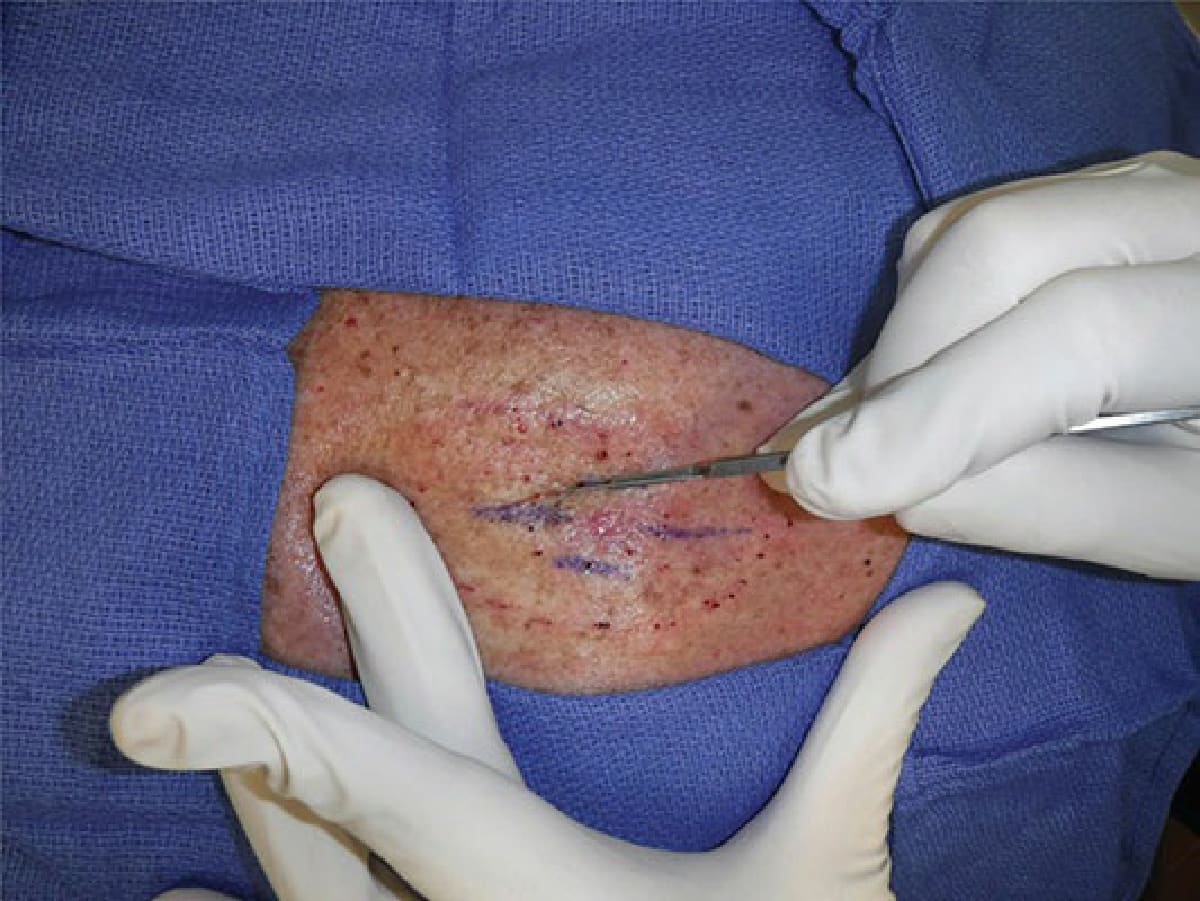
Figure 18-12. An incision is made along the marked axis with the blade held perpendicular to the skin or with a slight outward bevel.
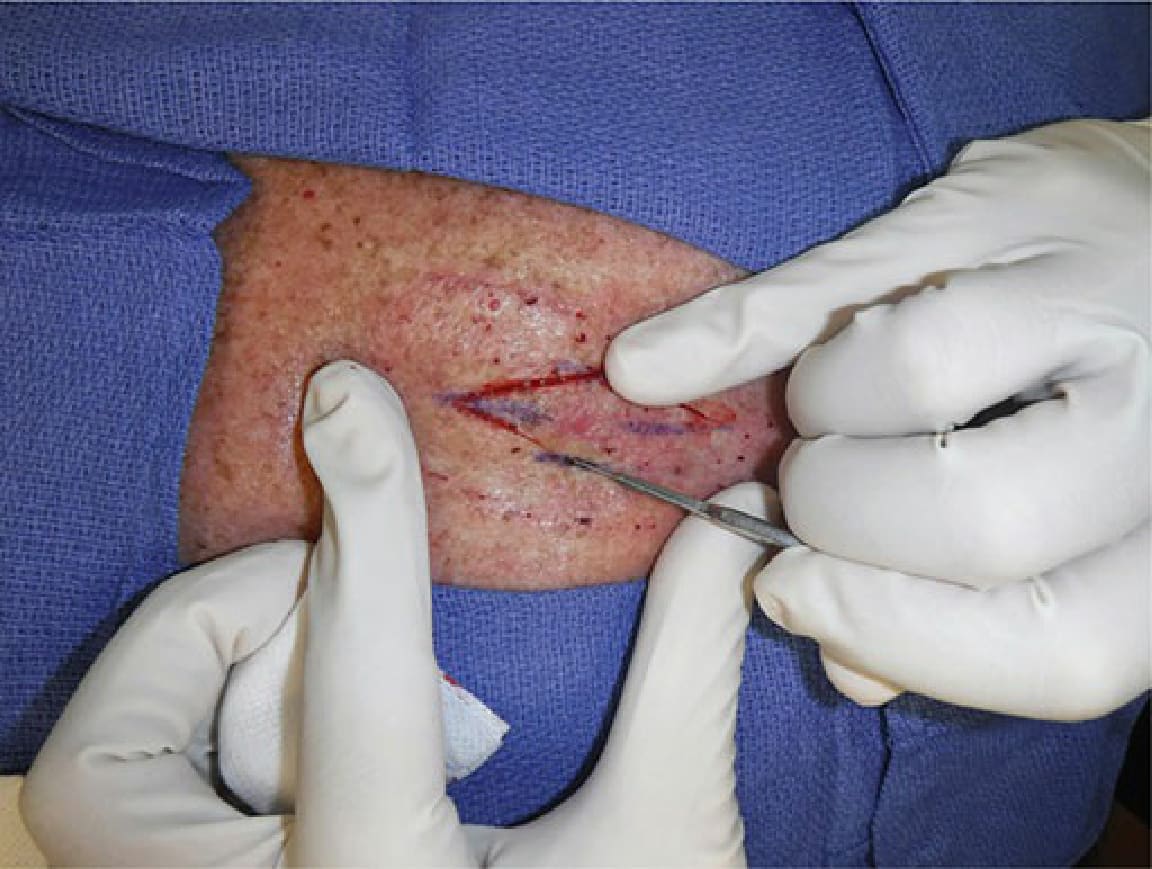
Figure 18-13. The incision is made to a uniform depth including the apices.
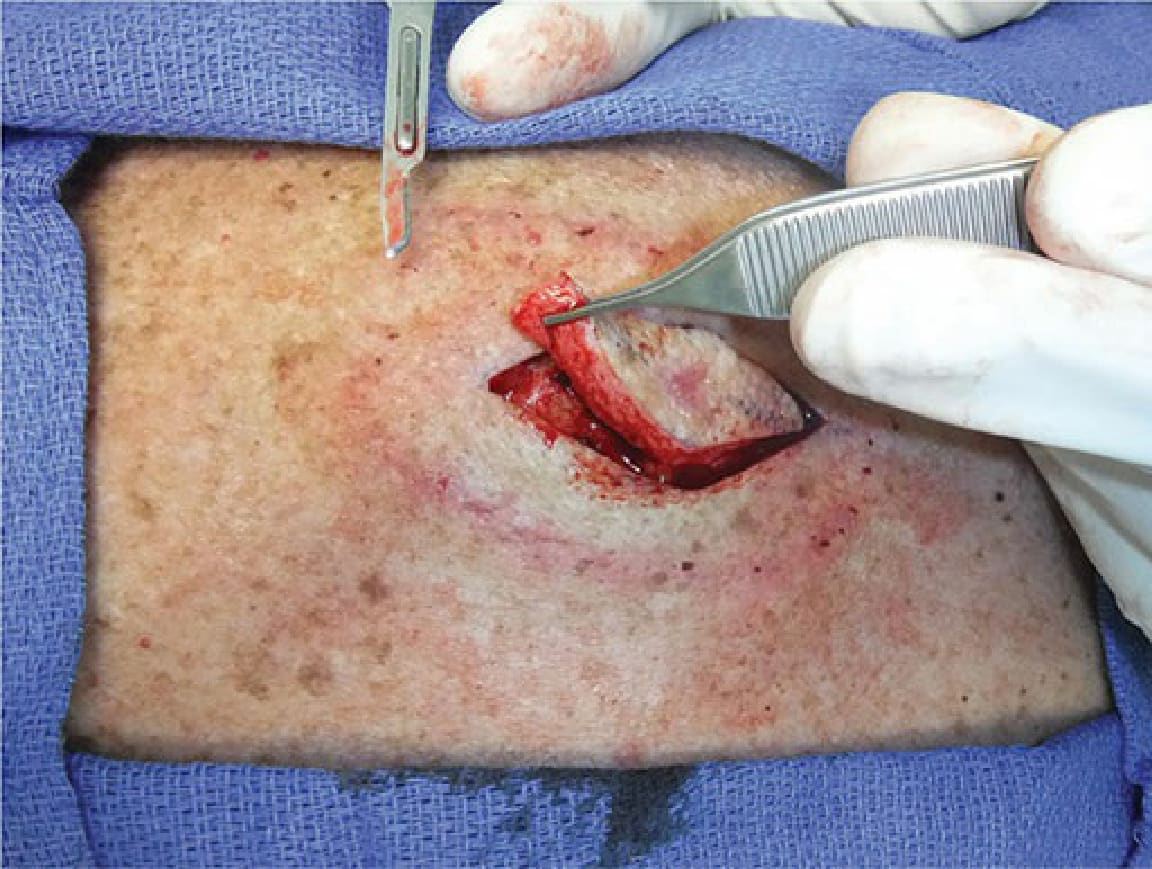
Figure 18-14. The specimen is incised at a uniform depth on its undersurface.
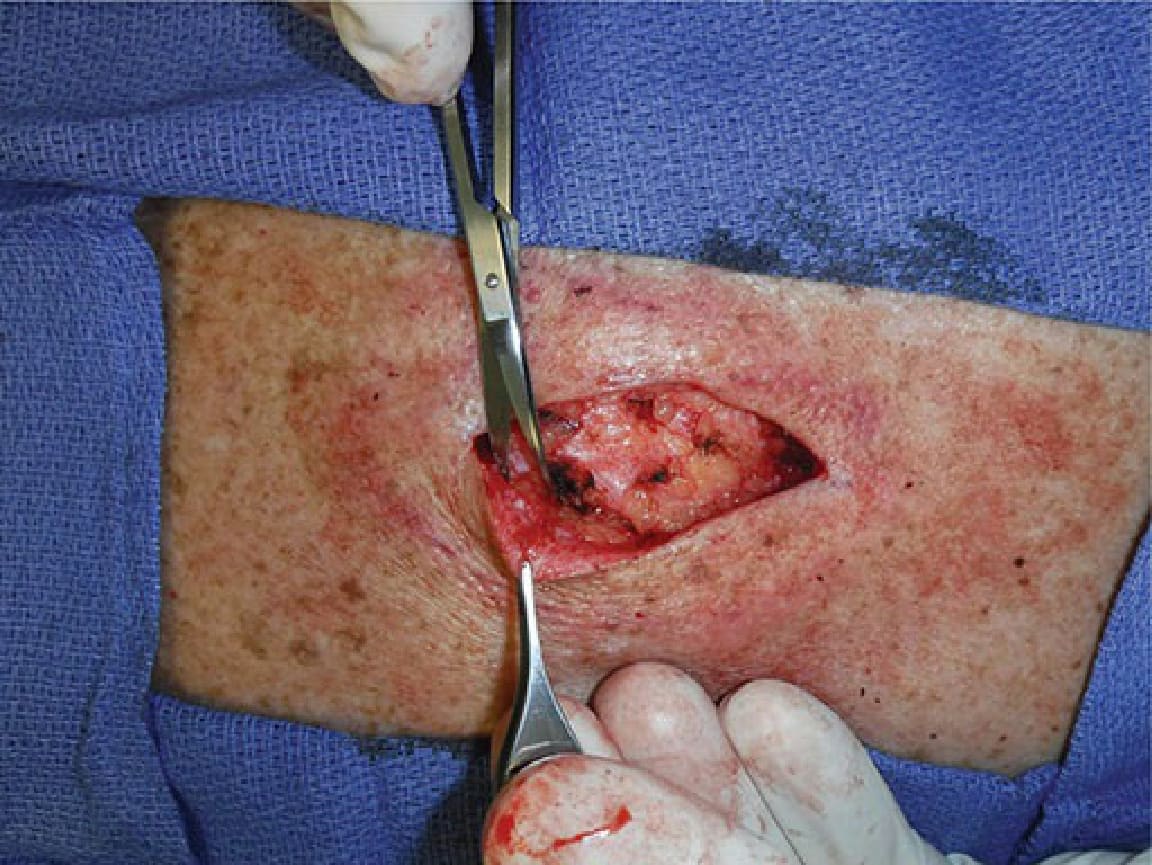
Figure 18-15. Sharp undermining is performed with surgical scissors or a scalpel.
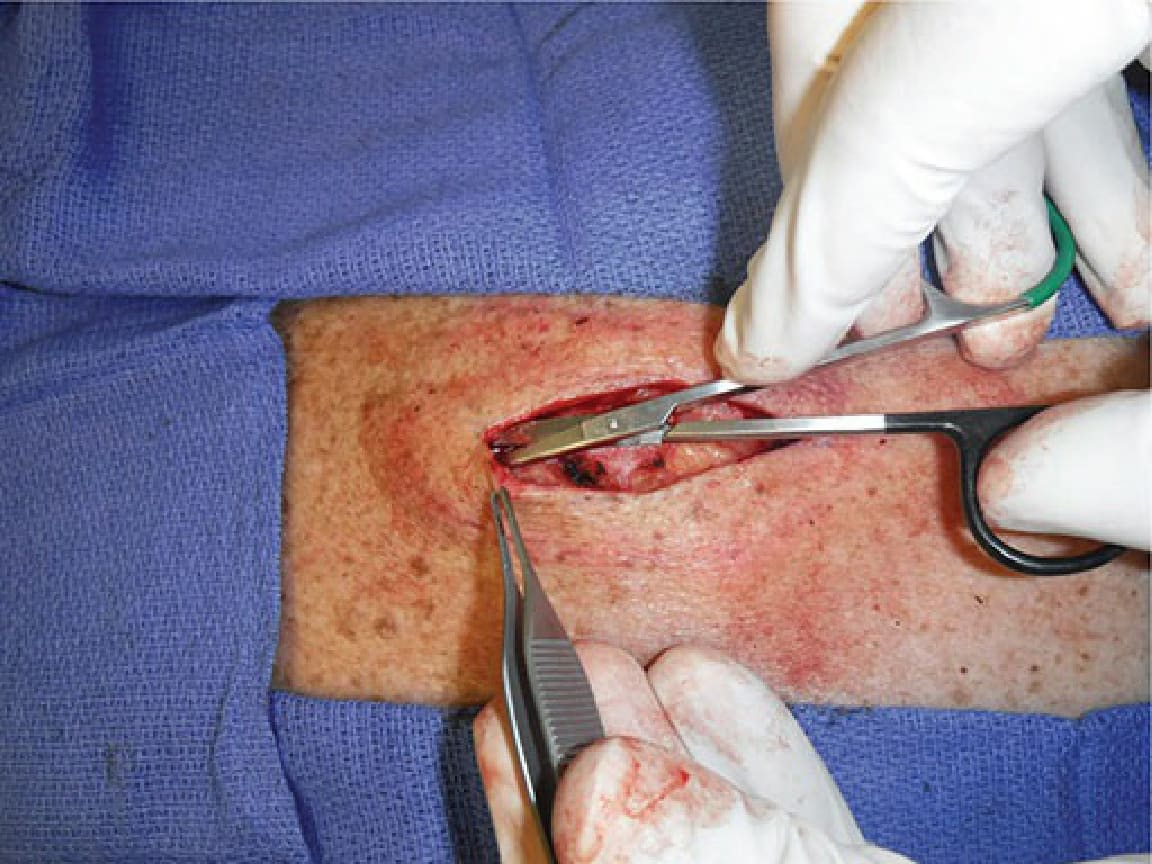
Figure 18-16. The apices are undermined extensively.
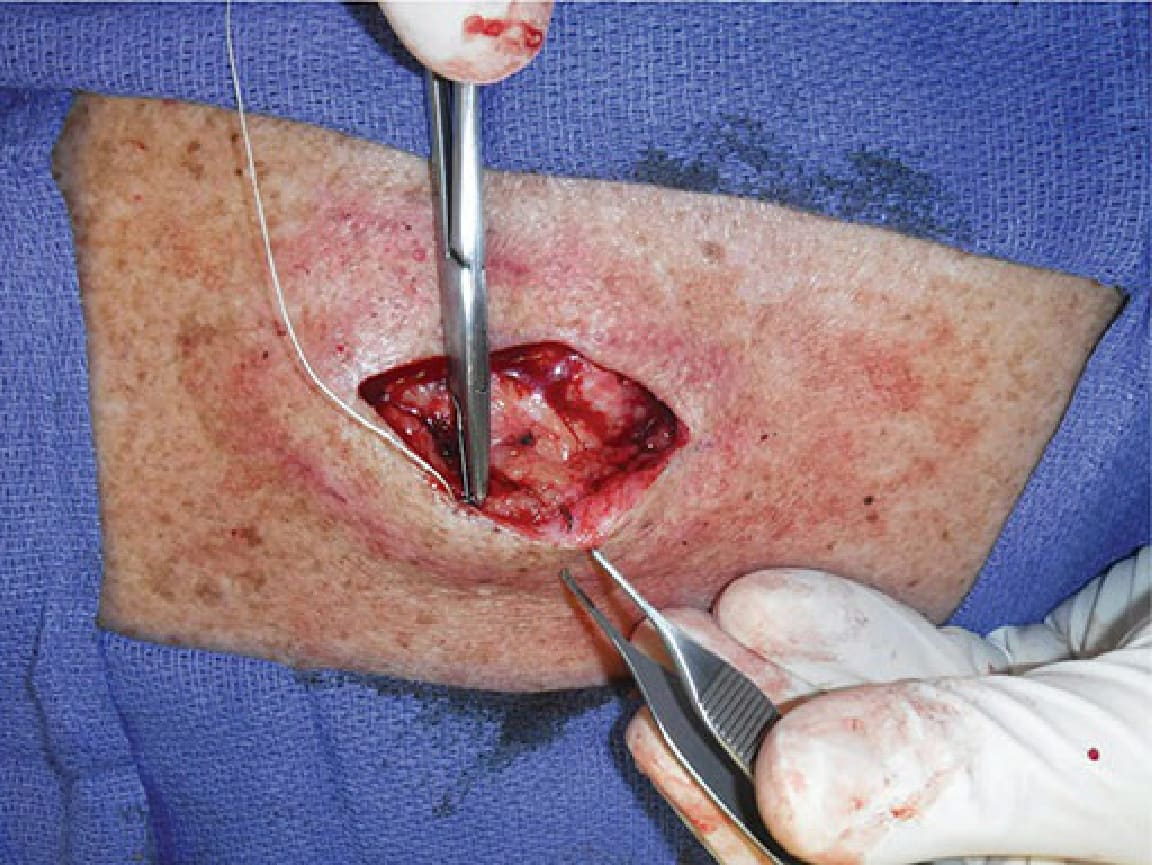
Figure 18-17. A fascial plication suture is placed to reduce tension and decrease the apical angle further.
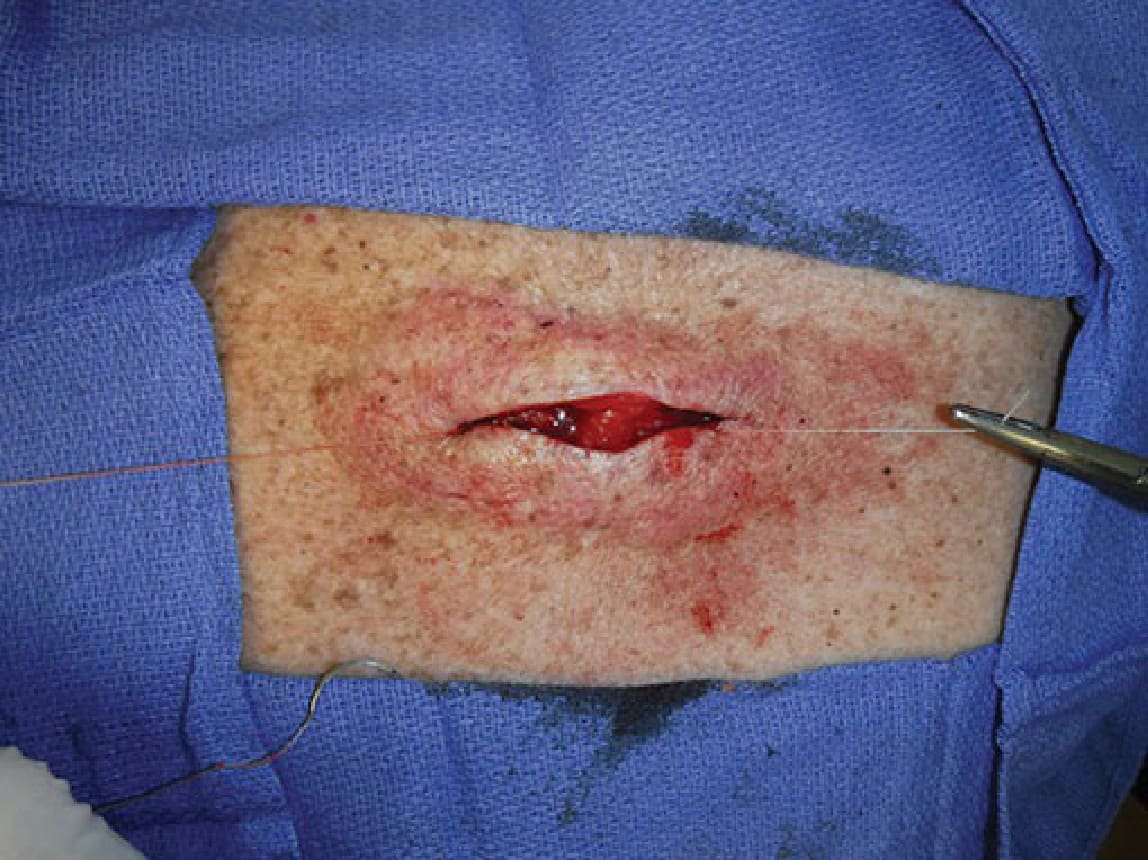
Figure 18-18. Tightening this suture leads to narrower apical angles.
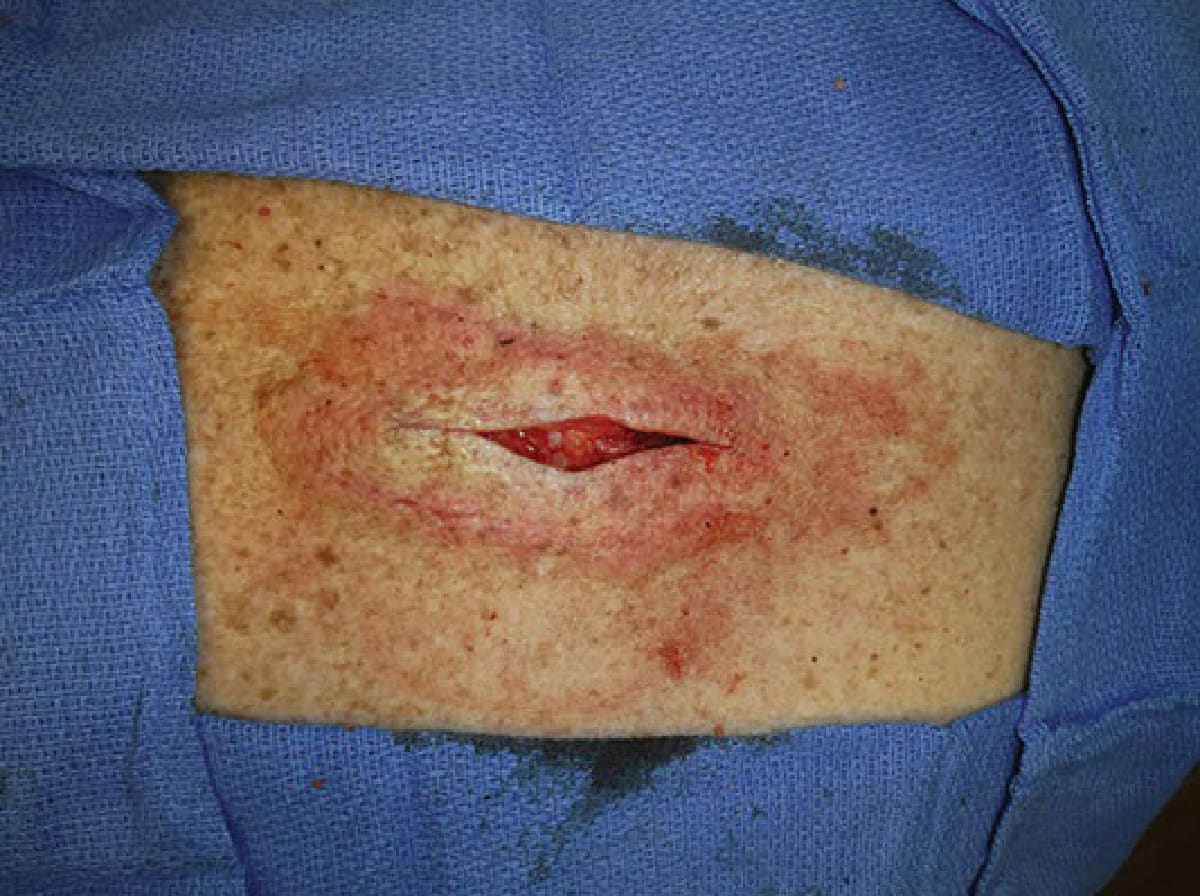
Figure 18-19. After a single fascial plication suture is placed, the bulk of the wound is closed and tension is reduced.
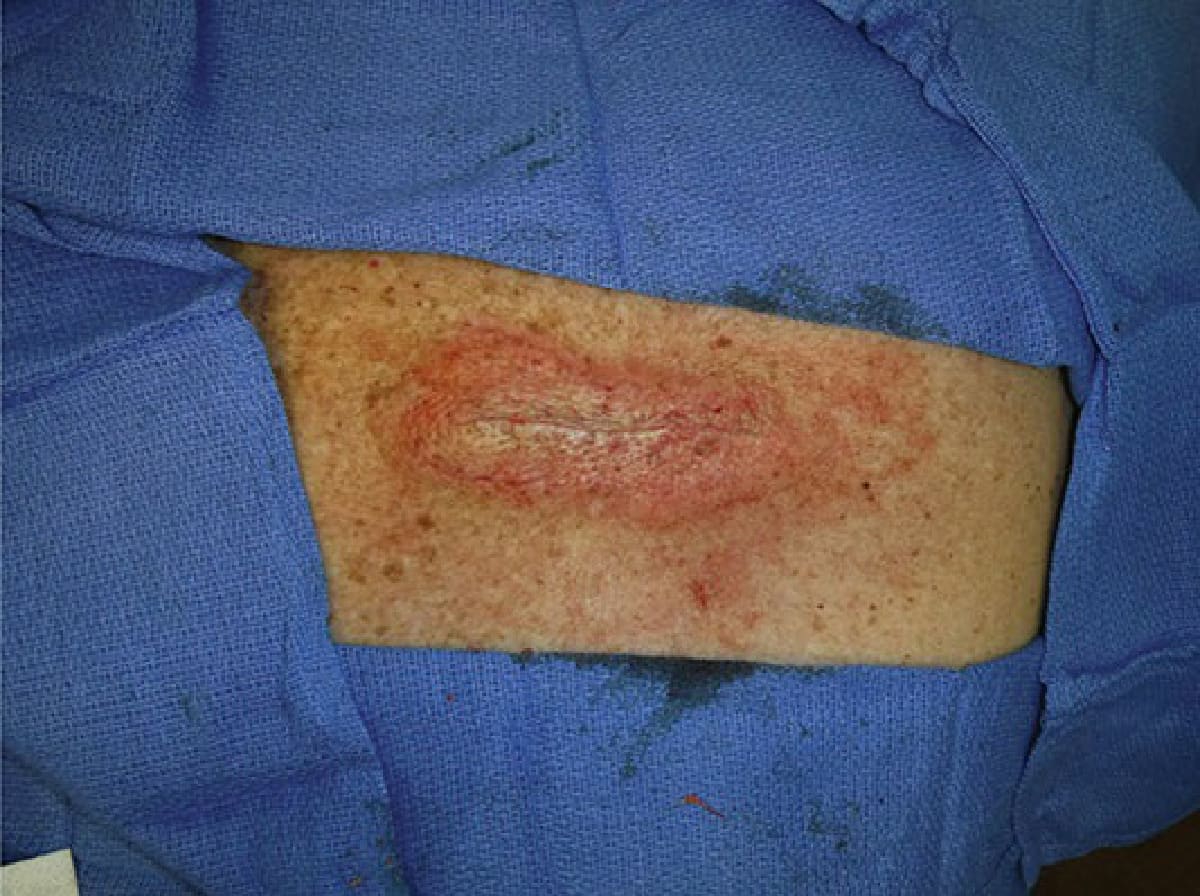
Figure 18-20. Set-back or buried vertical mattress sutures are then placed, allowing the wound edges to drape together under minimal tension.
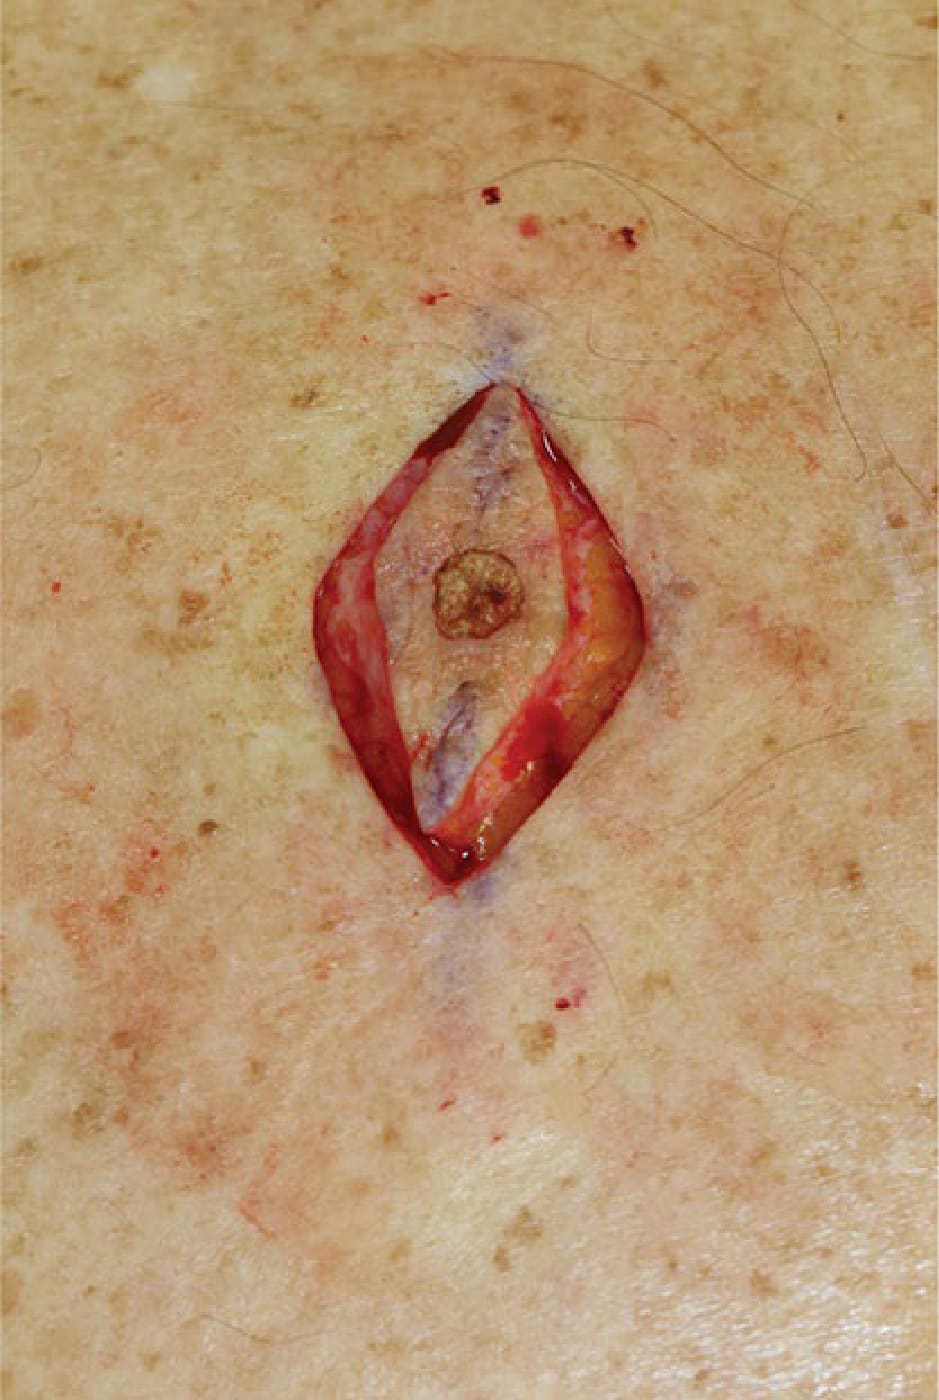
Figure 18-21. After incising and tissue release, there is a tendency for the lateral edges of the wound to spring back from the central defect.